


I had a beautiful DIY wedding in March 2010. I planned for about 11 months - doing projects, making phone calls and just being plain creative. It's been almost THREE WHOLE MONTHS and I have had to fill my time with new things! I miss the crafty aspect but not the stress! And I absolutely LOVE being married! WOO!! =)
I have decided to use this blog to share with you and the rest of the world my Life After the Aisle. I'll post re-decorating that I have done and other miscellaneous projects PLUS a sneaky peek into our new life! =)
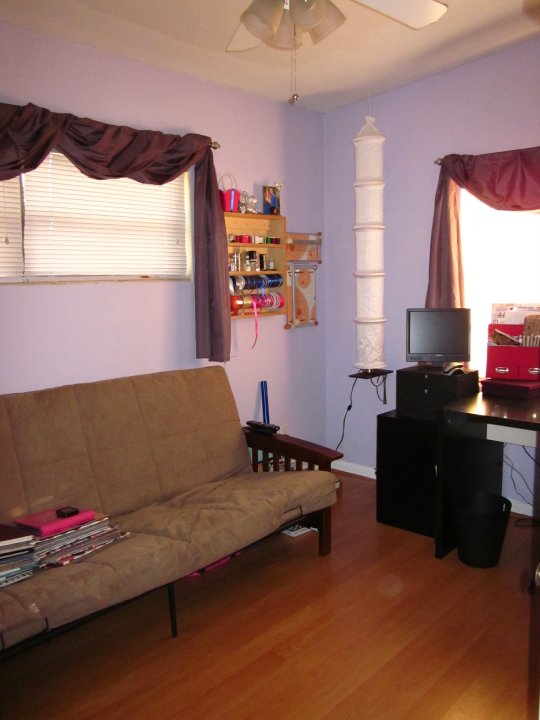
A couple of weeks ago I decided I was not happy with my craft room. My amazing husband let me transform our spare room into my 'all things girlie and creative' room! YAY me! However, neither of us felt compelled to paint or organize at the time and I am proud to say that I am 100% EMBARASSED by the following pictures:


Since these pictures, my room has been transformed ENTIRELY to become the GIRLIEST room in our house! Thank goodness!! because really it was an outrageous mess -- I didn't even WANT to craft in it!!! =( So without further adieu -- I present my new craft room!!!!

I didn't purchase MUCH for this room. I had the curtains stashed in a closet because they didn't match any room in the house. We repainted/decorated our bathroom about a year ago and had taken down one of the mirror/cabinets off the wall -- I thought having 2 in the same bathroom was a little excessive! For some unknown reason, my hubby kept it. When I was given my craft room I took the doors off and we mounted it to the wall. My newest improvement on the cabinets is the addition of 2 dowel rods to hold the ribbon in a craftier, more organized fashion.

I bought the dowel rod (just 1) for under $1 at Michael's of all places! I drilled holes (yes I did) through the sides of the shelves and put the ribbon on the rods! I also decided to hang my rotary cutters so they would be out of the way.
The light you see in this next picture is a DIY project from a few years ago. I used a nylon/poly blend for the fabric. I hemmed the edges and sewed the fabric into one giant tube. I purchased the rounds that are used in needle point and took the part that tightens/loosens the bigger circle off. I strategically placed them in the fabric to create dimension/shape for the fixture. I bought small pieces of wood, stained in and used mounting/shelf brackets you can find at Lowe's/Home Depot to create a shelf for the light. The fixture hangs from the ceiling and doesn't touch the shelf.
The light you see in this next picture is a DIY project from a few years ago. I used a nylon/poly blend for the fabric. I hemmed the edges and sewed the fabric into one giant tube. I purchased the rounds that are used in needle point and took the part that tightens/loosens the bigger circle off. I strategically placed them in the fabric to create dimension/shape for the fixture. I bought small pieces of wood, stained in and used mounting/shelf brackets you can find at Lowe's/Home Depot to create a shelf for the light. The fixture hangs from the ceiling and doesn't touch the shelf.

I made a few other shelves using the brackets you can found a your local hardware/home improvement store and extra shelving we had from other pieces of furniture. I am very pleased with my craft room and now LOVE spending time in it creating new projects! =)
1 comment:
What a lovely space you have now!
Post a Comment