


Before I share this tutorial with you -- this is my 300th post! =) WOO!! Ok, now that's out of the way...

I saw this tutorial a couple months ago and I have been really wanting to try to make one. I normally just throw my brushes into a makeup case with the rest of my makeup products that I was using at the time or into a makeup drawer/container. I don't like to buy something that I feel I can make so I thought this would be a quick project to tackle. AND it would be 100% customized! Oh and something you should know, I get these grand ideas of sharing tutorials WITH pictures and then I get so caught up in the process that I forget to keep taking the pictures. OK so here goes -- the tutorial =)
I saw this tutorial a couple months ago and I have been really wanting to try to make one. I normally just throw my brushes into a makeup case with the rest of my makeup products that I was using at the time or into a makeup drawer/container. I don't like to buy something that I feel I can make so I thought this would be a quick project to tackle. AND it would be 100% customized! Oh and something you should know, I get these grand ideas of sharing tutorials WITH pictures and then I get so caught up in the process that I forget to keep taking the pictures. OK so here goes -- the tutorial =)
{SUPPLIES}
Fabric
Sewing Basics (machine, scissors, thread, etc)
Batting
Ribbon
{DIRECTIONS}
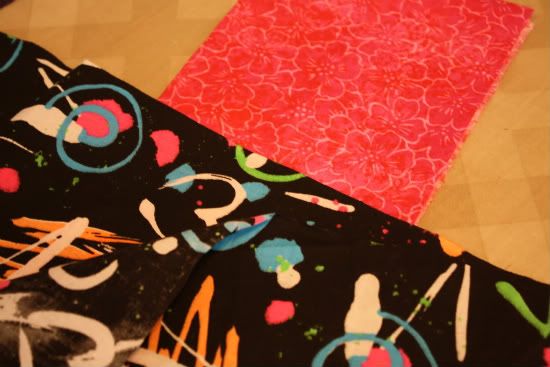
*For your fabric, I used two different: one for the case and a different for the pocket panel on the inside of the roll. It is up to you what you use. I also lack a ton of brushes, so I didn't need to make mine too big. I made the actual roll part 18X10.
-Cut 2 pieces of fabric for the outside of the roll; each piece should be the same size. Cut a piece of batting to match the size of your fabric pieces.
- Cut out one piece of fabric that is the same dimensions as the body of the roll. fold that piece in half 
*This is the last picture until I finished haha! OOPS!*
-Pin the panel (piece that be the pocket for the brushes) to the right side of one of the fabric pieces for the body of the case.
-Sew vertical lines either the length of the case or just the length of the pocket fabric. You can make them as wide or narrow as you want. These are going to make the individual pockets for your brushes and/or any other accessories you want to stick in your roll-up case.
-Lay flat and pin your big pieces of fabric (for the body) together, right sides facing one another. Pin your batting to the fabric as well.
-Sew your panels and batting together, leaving an opening on one side to turn our case right-side-out.
-Turn the case right side out, through the opening you left.
-Turn edges in and pin your ribbon ends in between the pieces of fabric at the opening. These will be your ties to keep the case rolled up.
-Sew opening shut. You can either use an invisible (hand) stitch OR you can start at the opening and sew all the way around the edge of the case for a more finished look.
Ta Da! You have successfully created your make-up brush roll-up case! =)
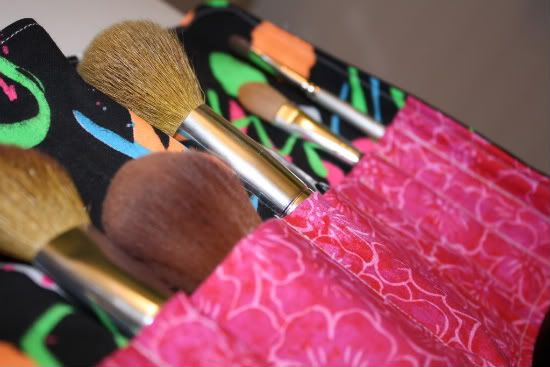
Embellish as you desire. i didn't add any embellishments since I used a 'loud' fabric =)
Have you made anything lately?
If you make this case, I would LOVE to see how yours turned out =)

6 comments:
Wow, that is so cute!!
Now I just need to learn how to use my sewing machine!!
wow! i'm quite impressed. love the fabric you used.
Awwww, that's so cute!! Great idea!
Great job! When we made them at my Singer party we just folded the fabric over. I like the idea of incorporating two different fabrics.
Very cute! Congrats on 300 posts!
What an adorable project! I love it!
And yay for 300 posts! :)
Post a Comment