


I have been planning to make a quilt or comforter of some sort since The Husband and I decided to buy a new home. We haven't moved in yet so I have lots of time to work on my home DIYs. I posted the finished project over a week ago but I wanted to share a tutorial for those of you wanting to make your own!
First -- you will need to figure out your design. I had elaborate designs and very simple/basic designs. I decided to go with an in between - a hybrid design, if you will.
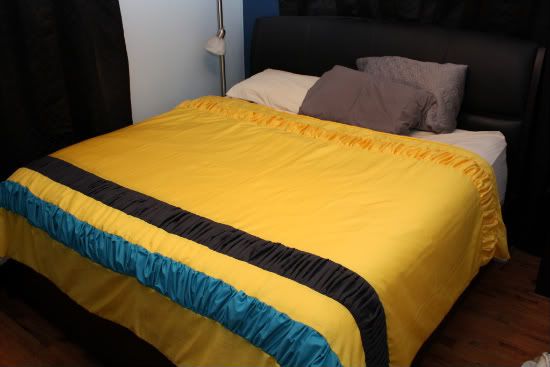
After you have designed your comforter, you will need to take measurements. You CAN go by the generic measurements listed online but I knew the generic weren't going to work for us. I went home and measured and decided I would make it 108" wide by 80" high. If this sounds very large, it is, I promise lol. We have a king bed and wanted the comforter to touch the foot board and side rails at the bottom of the mattress.
Now that I had the measurements and design, I made my way to Joann's. I knew what colors I was looking for based on both the design and the color scheme that The Husband and I had already come up with for our new master bedroom.
MAKE SURE YOU BUY ENOUGH FABRIC! When I was going to start making cuts and putting it all together, I realized I was about 3 yards short on material. Thankfully I found the same exact material and was able to get more.
For my measurements, I needed 12 yards of the main fabric (the gold) 1.5 yards of the gray and 1.5 yards of the teal. You will also need whatever you decide to use for trim if you want trim.
You can decide to make your comforter as a duvet cover or an actual comforter.
You can decide to make your comforter as a duvet cover or an actual comforter.
Now I have to admit, I am a bit of a cheater with my comforter. You can buy the batting and do all that good stuff (ie: more time and more money) OR you can make your way to you local Ikea and buy a duvet of your preferred weight and size for so much less. I picked up the cool temp alternative down king size for $15!!! Seriously - so much easier to deal with later AND much cheaper -- and we all know this girl loves a good deal =)
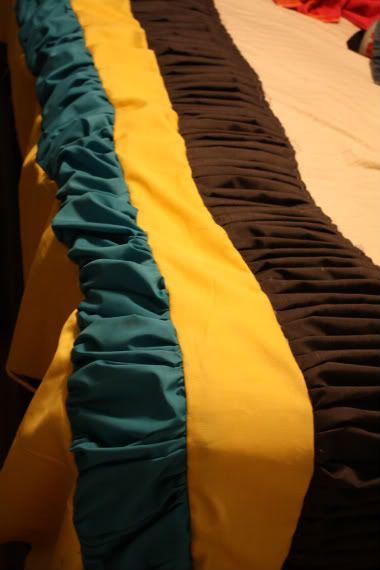
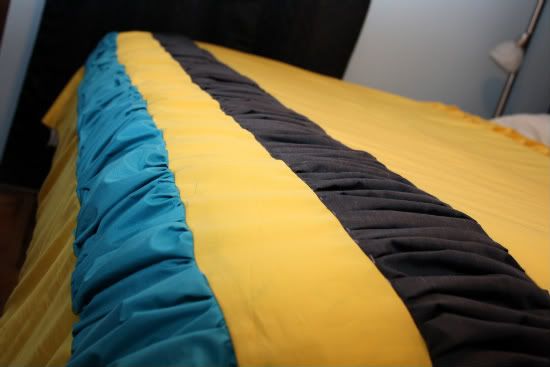
The very first thing I did when I started was make the ruffles. I wanted two different types of ruffles to add a little extra dimension and to create multiple textures. The gray ruffle I knew would take the longest, as I followed the tutorial found here for honeycomb smocking. I love the look but I thought the smocking would have been a little more structure than what I wanted.
I started out following the instructions to a T and realized it was going to take FOREVER. So I quit ironing the pleats and started doing everything by hand. This gave the fluffier more ruffled look that I wanted. To hand stitch 318 inches of fabric into pleats/ruffles takes about 5-6 hours.When I finally finished the gray ruffle, I cut the fabric for the teal ruffle.
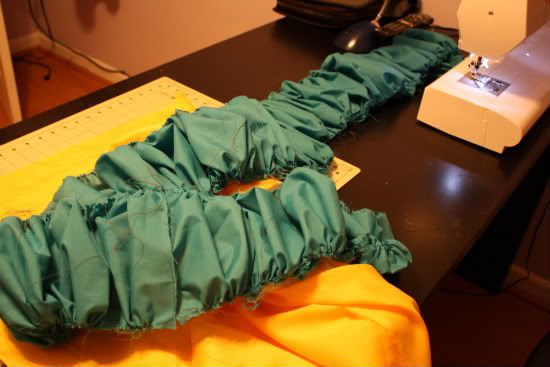
I decided for this one I would use the sewing machine and make the ruffle using the gathering method. This is SO much faster! Seriously -- it took about 20 minutes total! *NOTE:When making this ruffle I also used 3 times the amount of material necessary for the width of the comforter
After those two ruffles were complete, I cut the material for the rest of the comforter. I referred back to my drawing and calculation a lot to make sure I had enough. I made the cuts for the flat front pieces, the back pieces and the gold/yellow ruffle (again using 3 times the width for the ruffle).
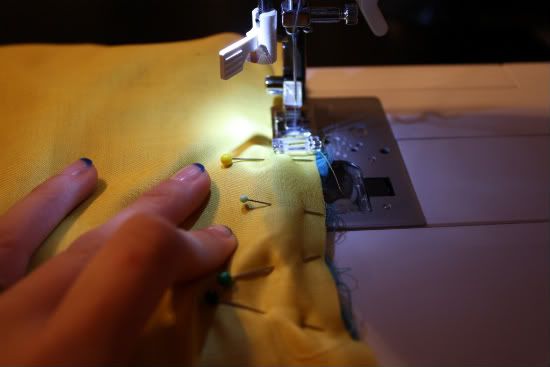
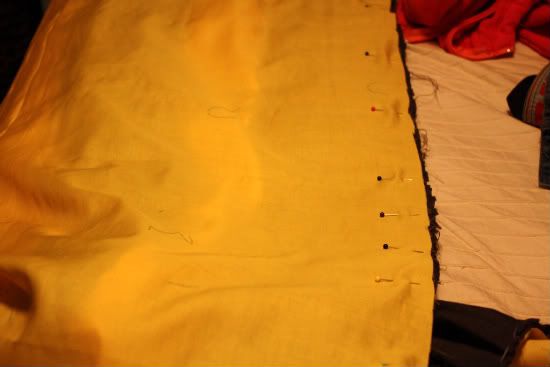
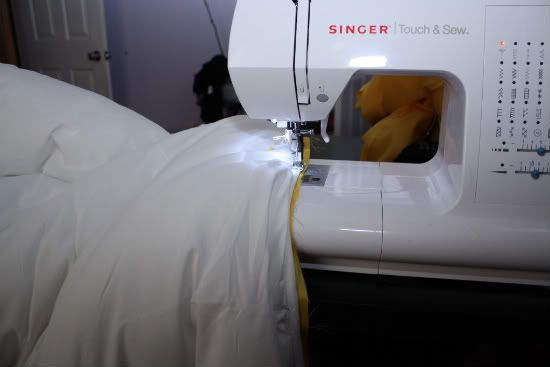
I was tired of doing ruffles for the moment and I wanted to start seeing progress, so my next step was to start pinning the yellow fabric to the ruffles.
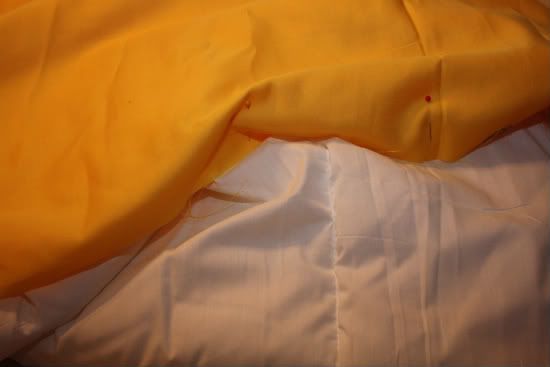
I pinned a thinner yellow piece to one side of the teal ruffle - right sides together. Sew and remove the pins.
I then pinned the yellow to the gray ruffle, right sides facing, and sewed together.
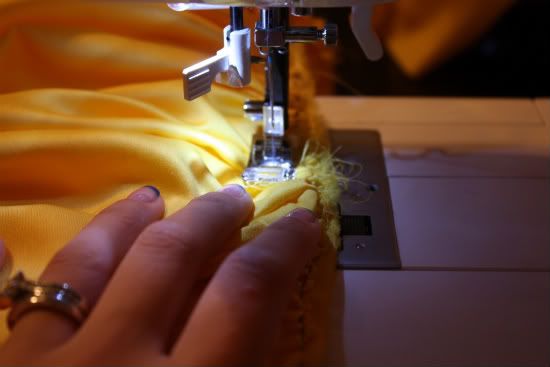
SOME NOTES: I get rolling and forget to take pictures, therefore, some are missing. you may notice that my sewing isn't start at the end and move forward, I started kind of in the middle...where the ruffles were and would be the most 'difficult' to sew together because of the additional material from the ruffle, nevermind all the material that would later be in the way from the rest of the comforter.
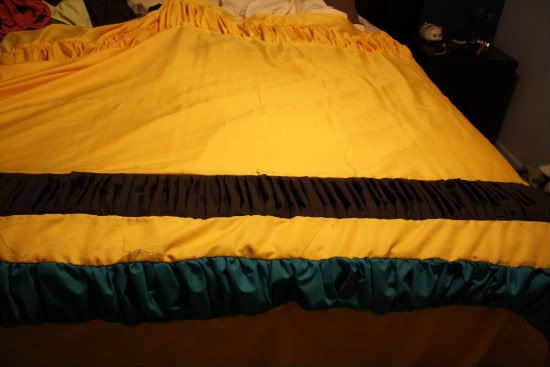
I pinned and sewed the piece of fabric that would be at the bottom of the comforter -- to the teal ruffle. Pin and sew the piece of fabric for the middle of the comforter to the teal ruffle.
Then I pinned the gray ruffle to the yellow fabric that would serve as the 'middle' of the comforter, right sides together. Sew and remove the pins.
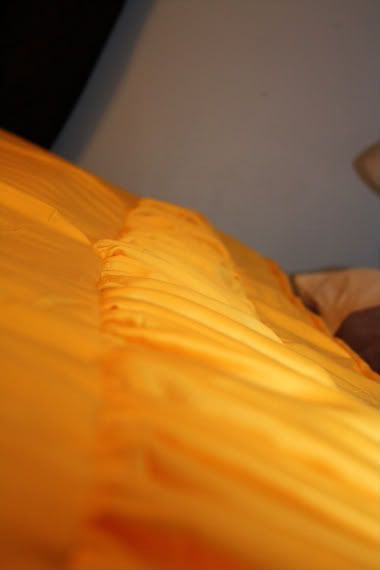
As I neared the end of the front of the comforter, I created the final ruffle -- I used the gold fabric. This was to add just a little more texture to the comforter without throwing in more color. I used the machine/gathering method for the three strips of fabric for this ruffle. Once the ruffle had been created, I sewed the ends to one another using the machine.
I laid out the comforter on the bed and pinned the gold ruffle to the end of the gold middle piece, right sides facing each other. Gather up all the comforter and sew together and remove pins.
I pinned the final piece of material (for the front) to the top of the comforter, right sides facing each other. Sew and remove the pins.
At this point, I had 6 yards of fabric leftover so I cut it down to 3 yards each and sewed them together on the long edge, right sides facing each other.
Next I pinned and sewed the duvet insert to the front side of the comforter on the long ends. Once sewed together, I flipped it right side out so that the sewn edges were 'inside' facing the duvet insert.
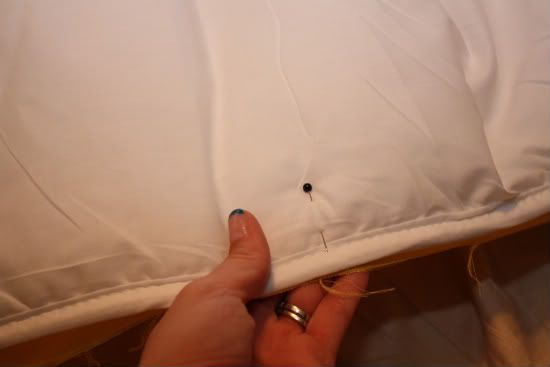
The FINAL step was to pin and sew the back of the comforter to the rest of the made comforter, right sides facing each other.
Make sure to leave an opening for you to flip your comforter right side out...otherwise your seam ripper will come in handy =)
Once it is right side out, finish with an invisible stitch or use your sewing machine. Like anything else, it is a matter of preference.
TA-DA!!
You are FINALLY finished!
I didn't add a trim even though I bought ribbon to use. I pinned it and didn't really like the look of it. The black was too stark in contrast. I am really leaning towards just sewing all the way around the comforter to give it a finished 'rolled' look. I haven't decided yet BUT I have now made a comforter =)
I hope this inspires you to make your own!! =)
Linking up to the following:
Polly Want a Crafter
Craft-O-Maniac
DIY Show Off

5 comments:
Wow, you have some great sewing skills! I love the colors and the look! Great job!!
I wish I could sew....this is truly amazing!
you never cease to amaze me! absolutely love it!
Great job on your comforter Ash! Thanks again for linking up to Sew Woodsy!
You're so crafty! I love it!!
Post a Comment